After the paint over render tests, work continued on the unwrapping of the robotic mech. The entire process took roughly 3 days to unwrap, which included doing all the individual pieces, sorting them into appropriate groups, and then scaling down each parts unwrap and placing them into the final UV unwraps. Below is an example of the unwrapping process using the hull section.
 |
| Stage 1: unwrap all the pieces individually |
 |
| Stage 2: group together all the finished unwraps into differet parts |
 |
| Stage 3: sort out and re size the all the pieces into their correct places |
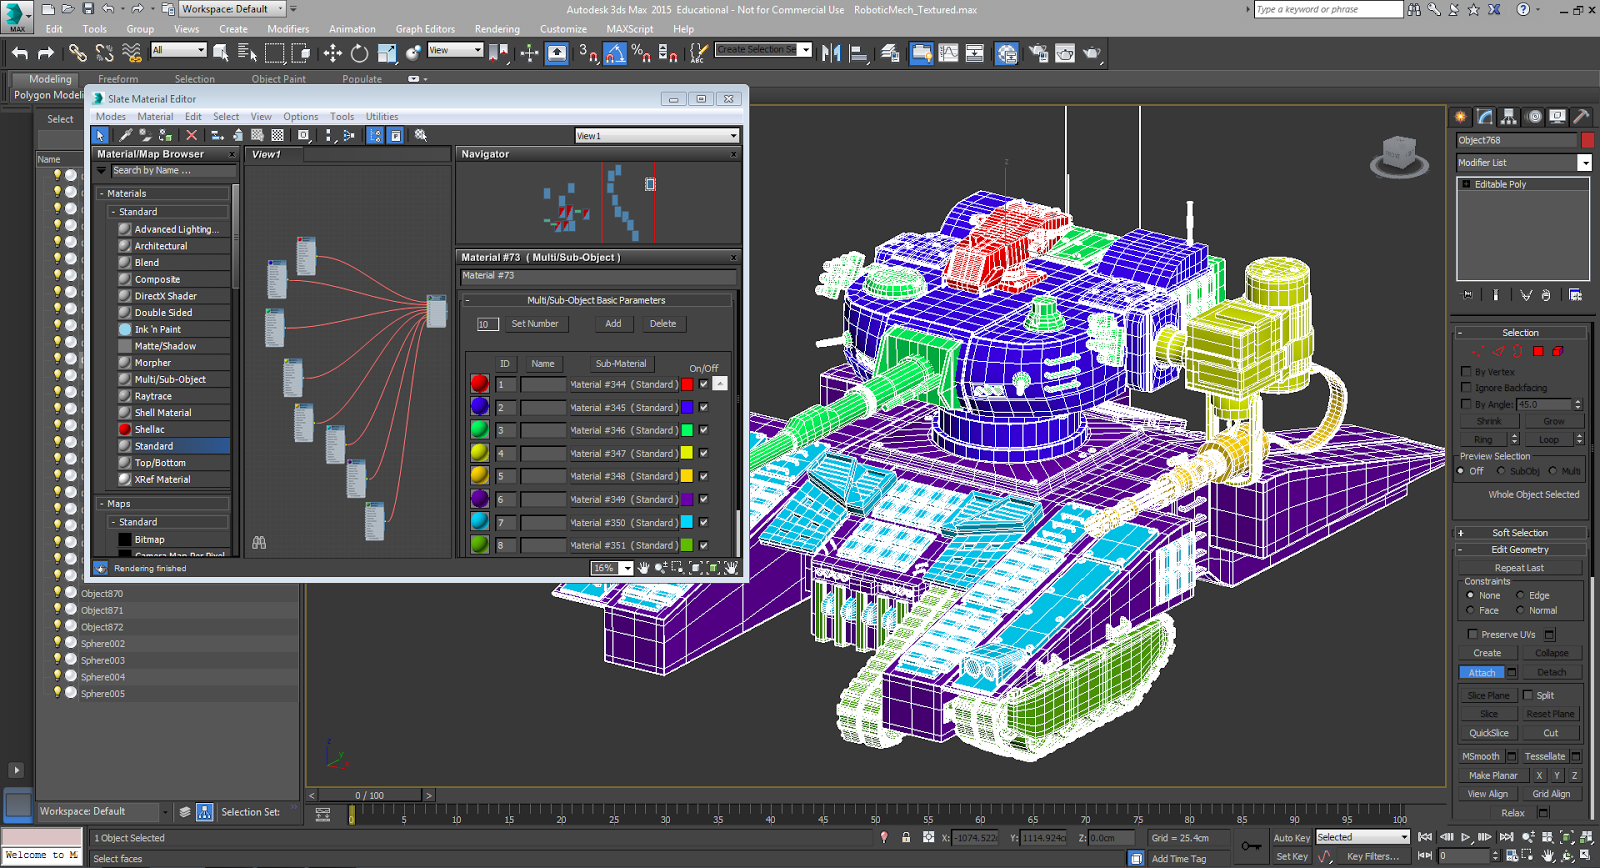
I decided that the robotic mech would be split into eight sections: the head, the arms, the turret, the turrets extra pieces, the hull, the hulls extra pieces, and parts associated with the wheels. I did this in order to maximise the amount of detail that I can get out of each sections parts.
With this decided, each part was given a material ID ranging from 1-8, so that the appropriate texture maps could be placed into each slot.
 |
| Robotic Mech split up with multi sub object material assigned |
The next step was to bake out the Occlusion maps for each part of the robotic mech. To do this, I split each sections parts up so that there wouldn't be any lighting issues. A white material was then placed on the model, with the light tracer setting on, and a skylight placed within the scene. Finally, render to texture was brought up, with the render set to create a 2048 x 2048 shadow map, using the recently created unwraps. This process was repeated until all of the texture maps were created, for a total of 8 Occlusion maps ready to use.
 |
| Occlusion baking set up |
With this part done, the basic Albedo maps were next to be made. To create each pattern camo, taken from the first paint over design, I filled the background with a dark blue colour. Then using around 4-5 different shades, using the polygon lasso tool to create the differing pattern shapes. Once done, each WIP PSD file was placed into the 3ds Max scene, and render out in a progressive few, in order to get a continual update on the look of the robotic mech as the process went on
.
 |
| Visual WIP checker |
With this finished, the work then shifted to Substance Painter for the creation of the metallic and roughness maps, which will be explained in the next entry.
No comments:
Post a Comment