As stated in the last post, I've started to model out the basic stages of the robotic mech. There was no need to create a turnaround sheet at this point, as I knew how I wanted to model the robotic mech. Also, its very likely the design will change during the modelling process, so I'll hold off doing turnaround art till I've confirmed the final look of the model.
I started off with the base of the RM. This didn't take long to do, though the first version came out too thin, so I bulked it out using the scale turn for the 2nd attempt. Both are shown below.
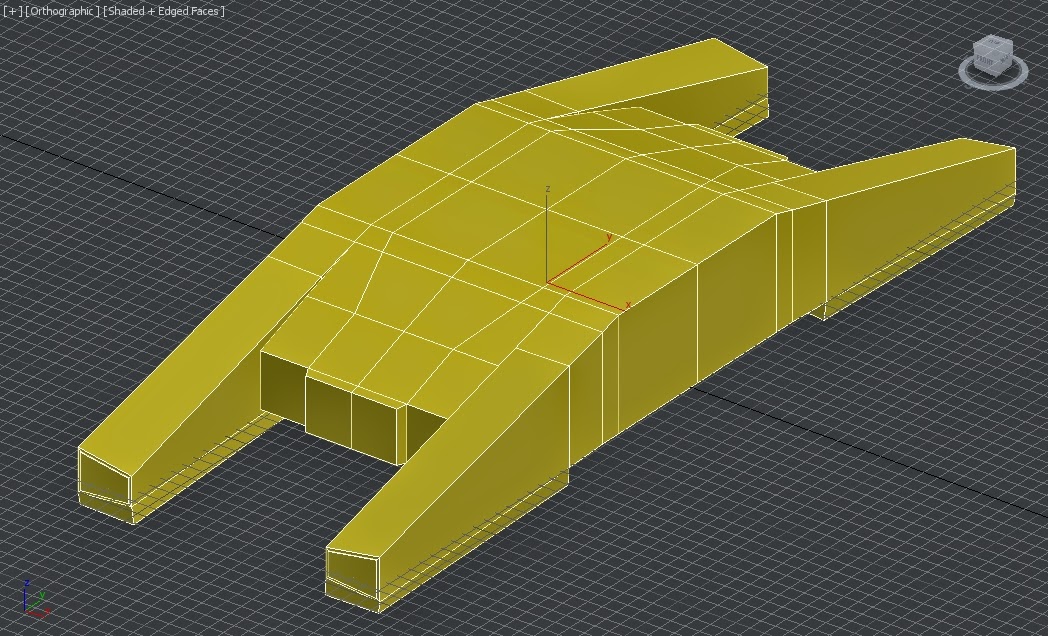 |
| Version one follows the basic model outline of the blue print. The overall shape is right, but it turned out to be a little thin. |
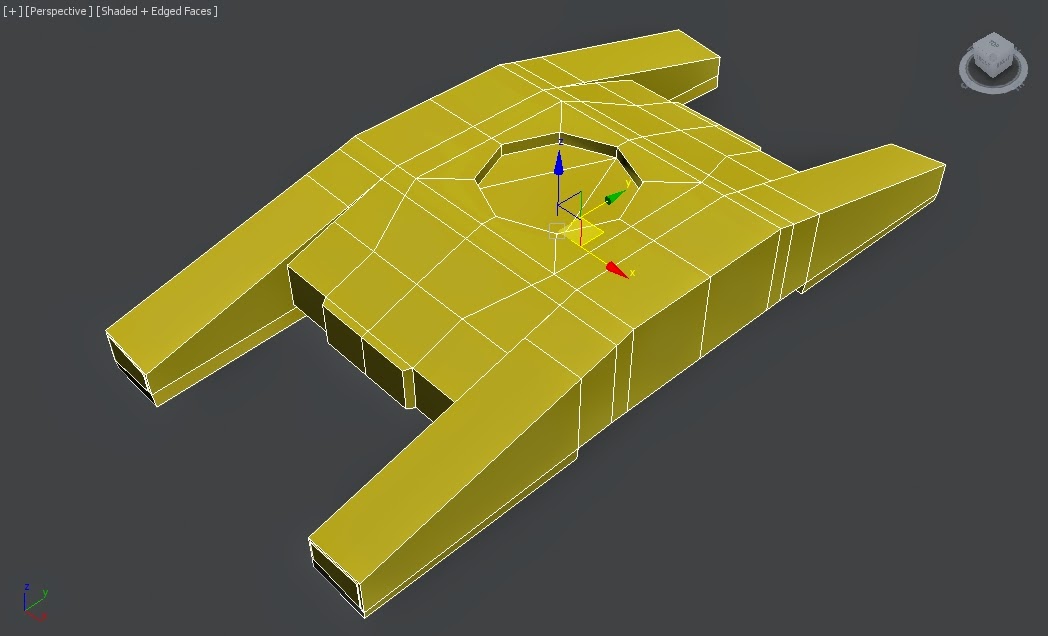 |
| The 2nd version is a lot better in terms of its bulkiness. Additionally the connection point has been added in the centre through connecting 8 edges to a centre vert, and then chamerfing the middle point to create the circle. |
However at this point I realised I had little experience actually doing Hard Surface Modelling, which is a key technique that I'll need in order to create my piece. Hard surface modelling helps in the creation of smooth, hard objects, such as metal pieces.
In light of this, I looked up and followed tutorials from varying artists/art groups on YouTube to help teach how to make proper use of hard surface modelling techniques. Below are a series of images, with a brief description of each tutorials, who made the video, and what I got out of following each one.
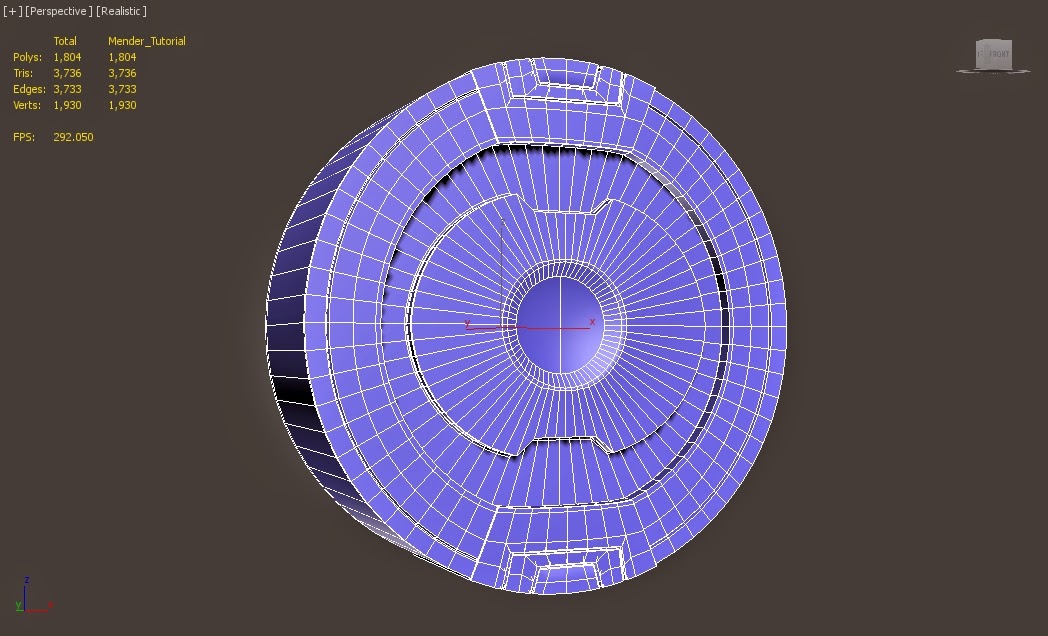 |
| Tutorial 1: Hard Surface Modelling Techniques in 3DS MAX. By James Meader. Following this tutorial, I created a piece of a futuristic gun. It made use of various extrusions and vert editing, as well as switching between turbosmooth and the low poly version to get the right shape. I also learnt how to use siwft loops, which creates lines that run through the model really quick. |
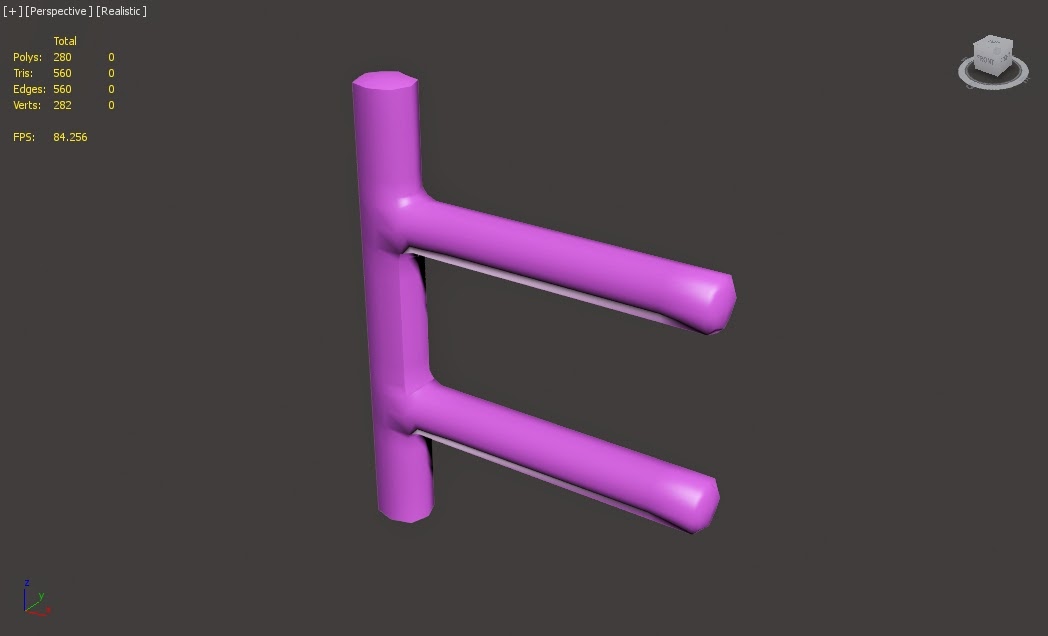 |
| Tutorial 2: Unfortunately I couldn't find the video or user who created this tutorial, however it gives a simplified way to created connecting bars, by creating them as a box, adding hard edge loops, and then turbosmoothing the model. It came out quite rough and had smoothing issues, so its unlikely i'll be making use of this technique. |
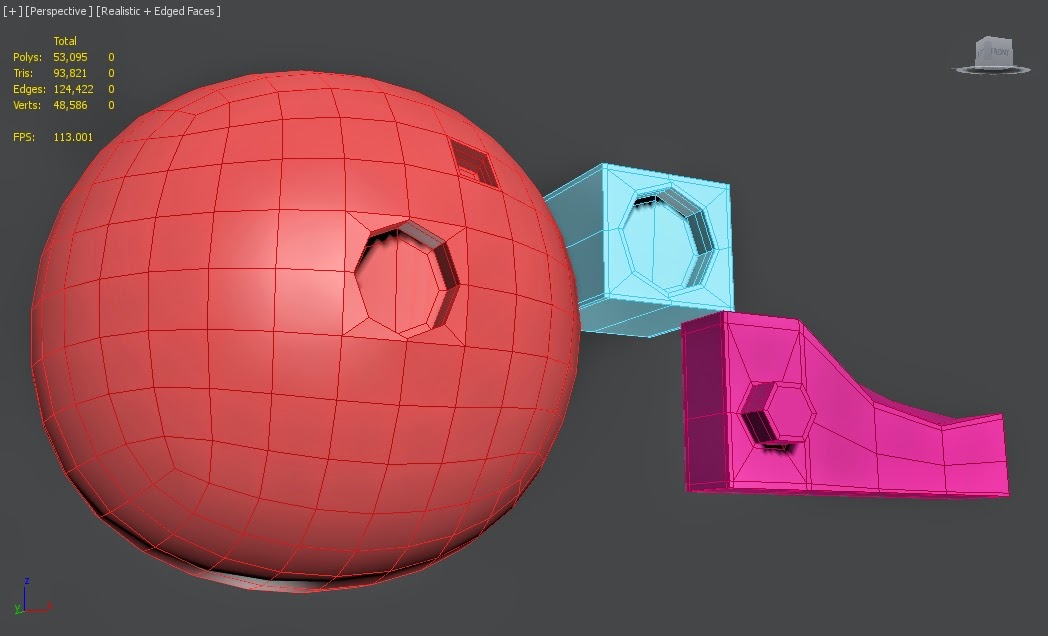 |
| Tutorial 3: Using the Loop Tools in 3DS Max to Extrude a Circle on Any Surface- 3dmotive. By 3DSMotiveHD. This tutorial was very handy as it taught me how to create circles on surfaces without having to make use of the boolean or pro-boolean tools. To do this, I simply took a poly, created edges from each corner and side that meet up in the model, then chamfer outwards to create the circle. Then turbosmooth the model to create circle, as shown in the image below. |
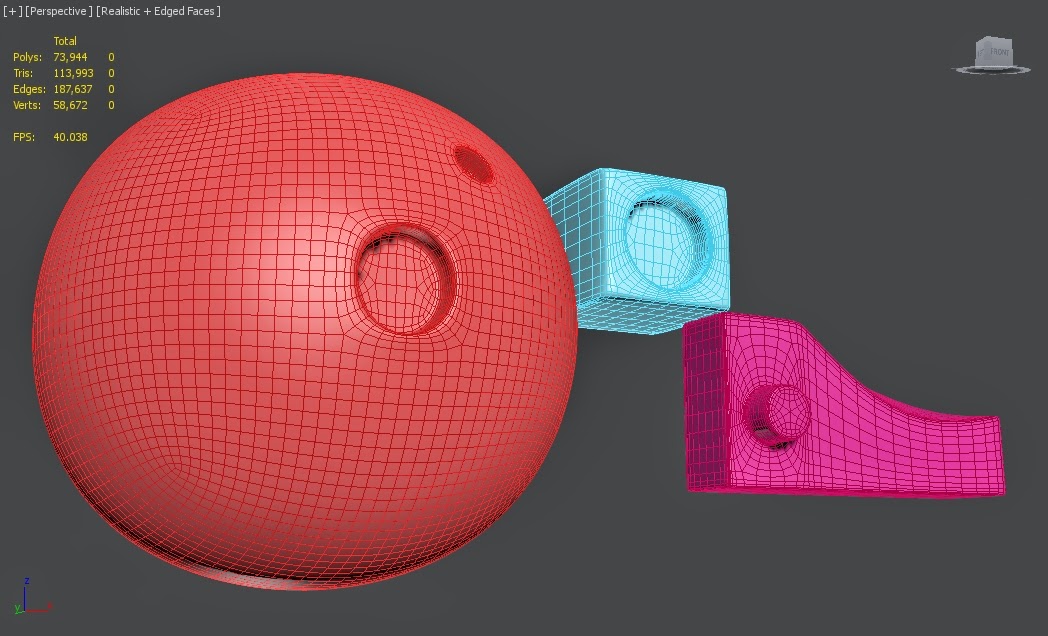 |
| Turbosmoothed version of the previous models. |
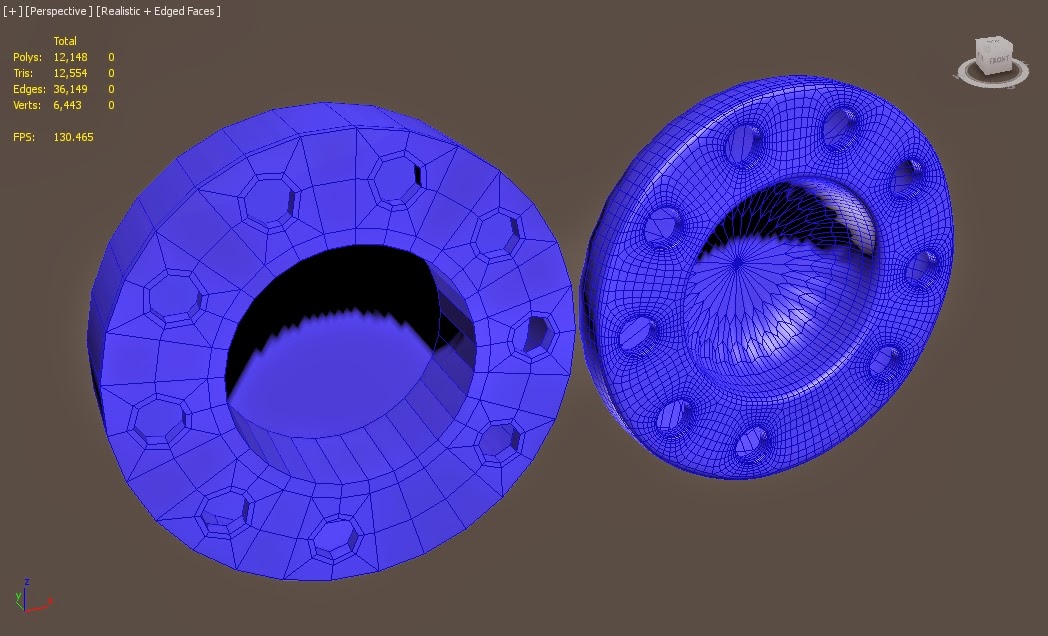 |
| Tutorial 4: 3Ds Max. Multi Hole Selection & Creation Using Similar, Chamfer, Turbo Smooth and Prooptimizer. By Doctor Bubble. This tutorial again made use of creating circles on an object, but instead in a patterned layout. I didn't quite get the hang of it, but got the general idea through following the tutorial. This will come in handy for pieces that need to connect together. |
 |
| Tutorial 5: Mastering Hard Surface Lesson 007 - 3dsmax Tutorial. By FX HIVE. This tutorial video was extremely handy to follow, as it taught me how to model a lot of useful shapes that I can go on to use for my own model. It shows where to put lines to get the best results, especially when changing it from low poly to high poly via turbosmooth, but still keeping its solid shape in the process. |
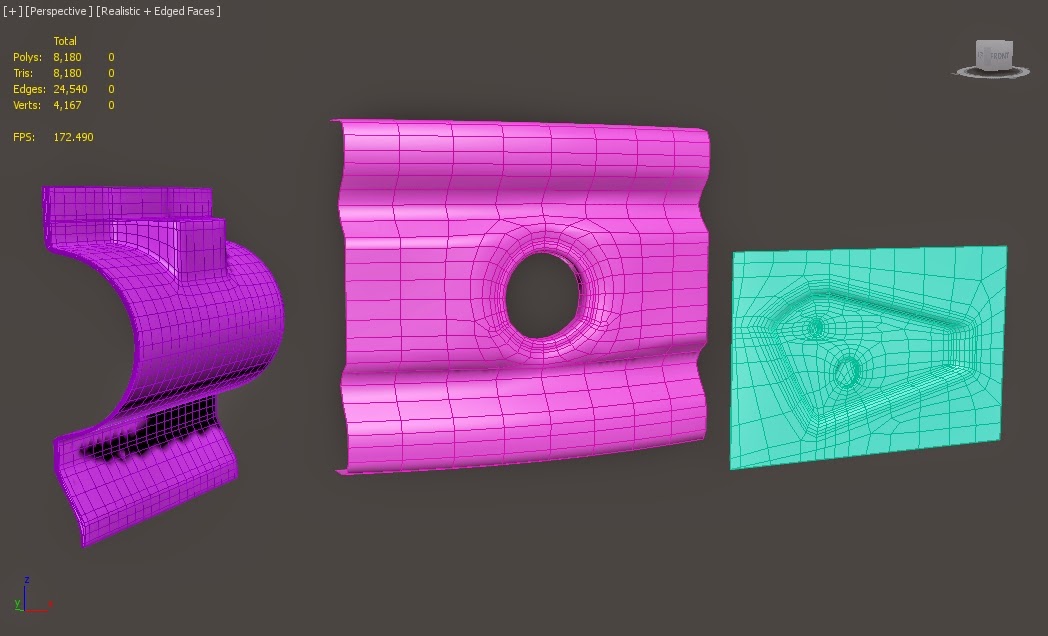 |
| Example of the low poly pieces in high poly. |
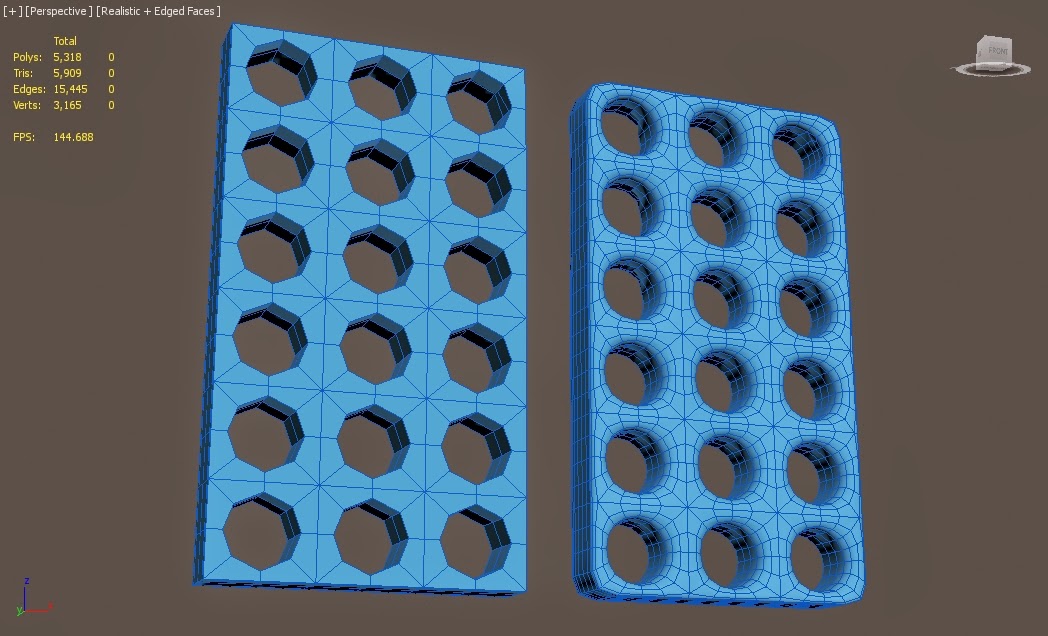 |
| Tutorial 6: easiest way to cut holes in 3ds max. By daviti Bujiashavili.Useful for creating a multiple hole pattern for metal parts such as an engine vent. |
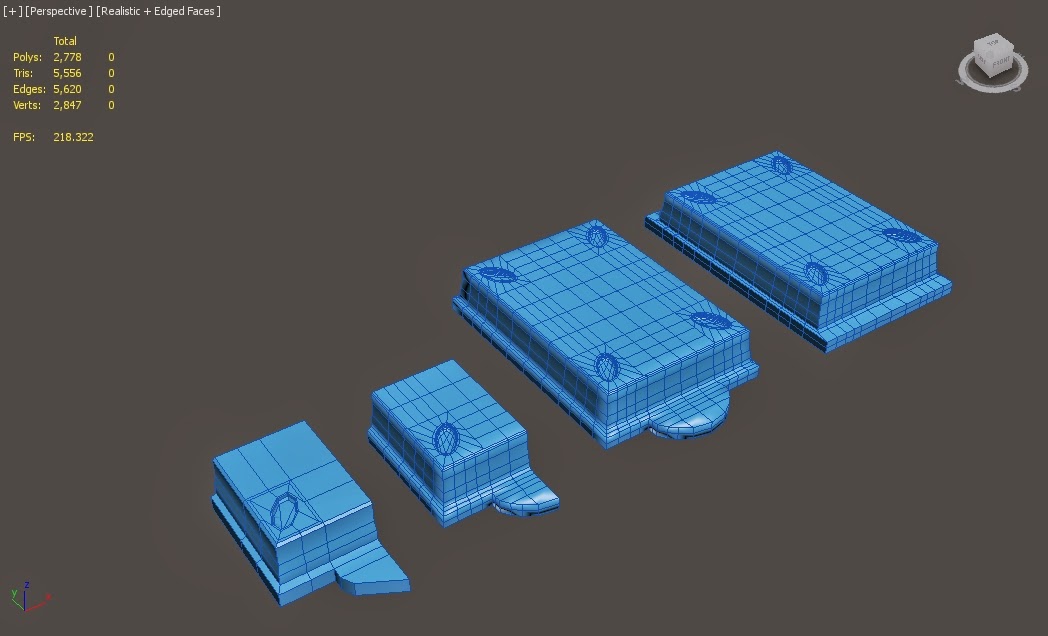 |
| After looking at all these tutorials, I decided to put their techniques into practice and creating a armour piece for my military robotic mech. This took a little editing and changing a few verts and edges here and there, but overall I'm quite pleased with how this piece turned out. |
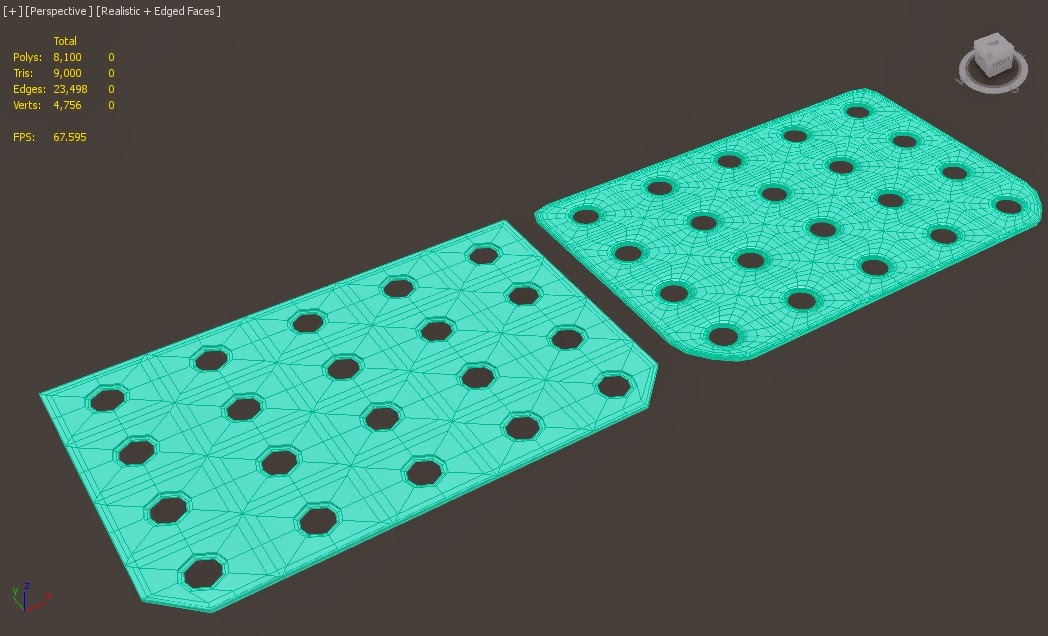 |
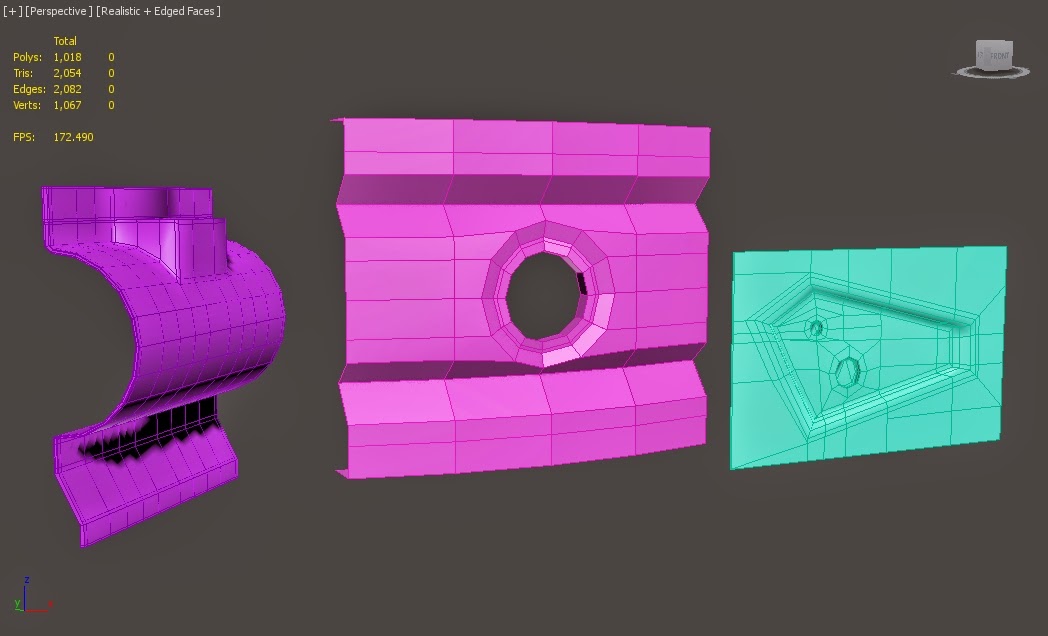
| I also practiced making a metal vent panel through using the multiple hole technique. I found a few issues, such as multiple unconnected verts and edges appearing. However, the end result seems to work quite well for what I want. |
So having followed and practiced each of these tutorials, I feel I have learnt a few new techniques and gotten better at doing hard surface modelled. This will make modelling further on in the complex stages a lot easier to do, and in the long run have saved me a lot of time trying to figure it out.
The next post update will contain further work done on the 3D modelling of the robotic mech.


No comments:
Post a Comment