Carrying on from the last entry, I've gone on to model the mech in more detail. I've mainly been working on the base and torso sections, as shown in the image below.
For example, in this section, I've been working out the where the edges should connect, which parts should be extruded or chamfered, and have also brought in pieces from my practice construction files, such as my armour pieces, to work out where external parts should be placed. I've also done this with the tank treads and the tanks main cannon.
In this image, I've created the connecting point between the turret and the base of the mech. I did this by extruding a flat plane from the circle shape from the base, extruded again to get the right, cut shapes into it and the proceeded to cut those out to get the hollow shape.
The turret section hasn't been too challenging so far as I've been working out its shape mostly. The red pieces that I've pulled out could be turned into external pieces that I just move into place, rather than have directly on the model, in order to make edge flow and the overall shaping easier to do.
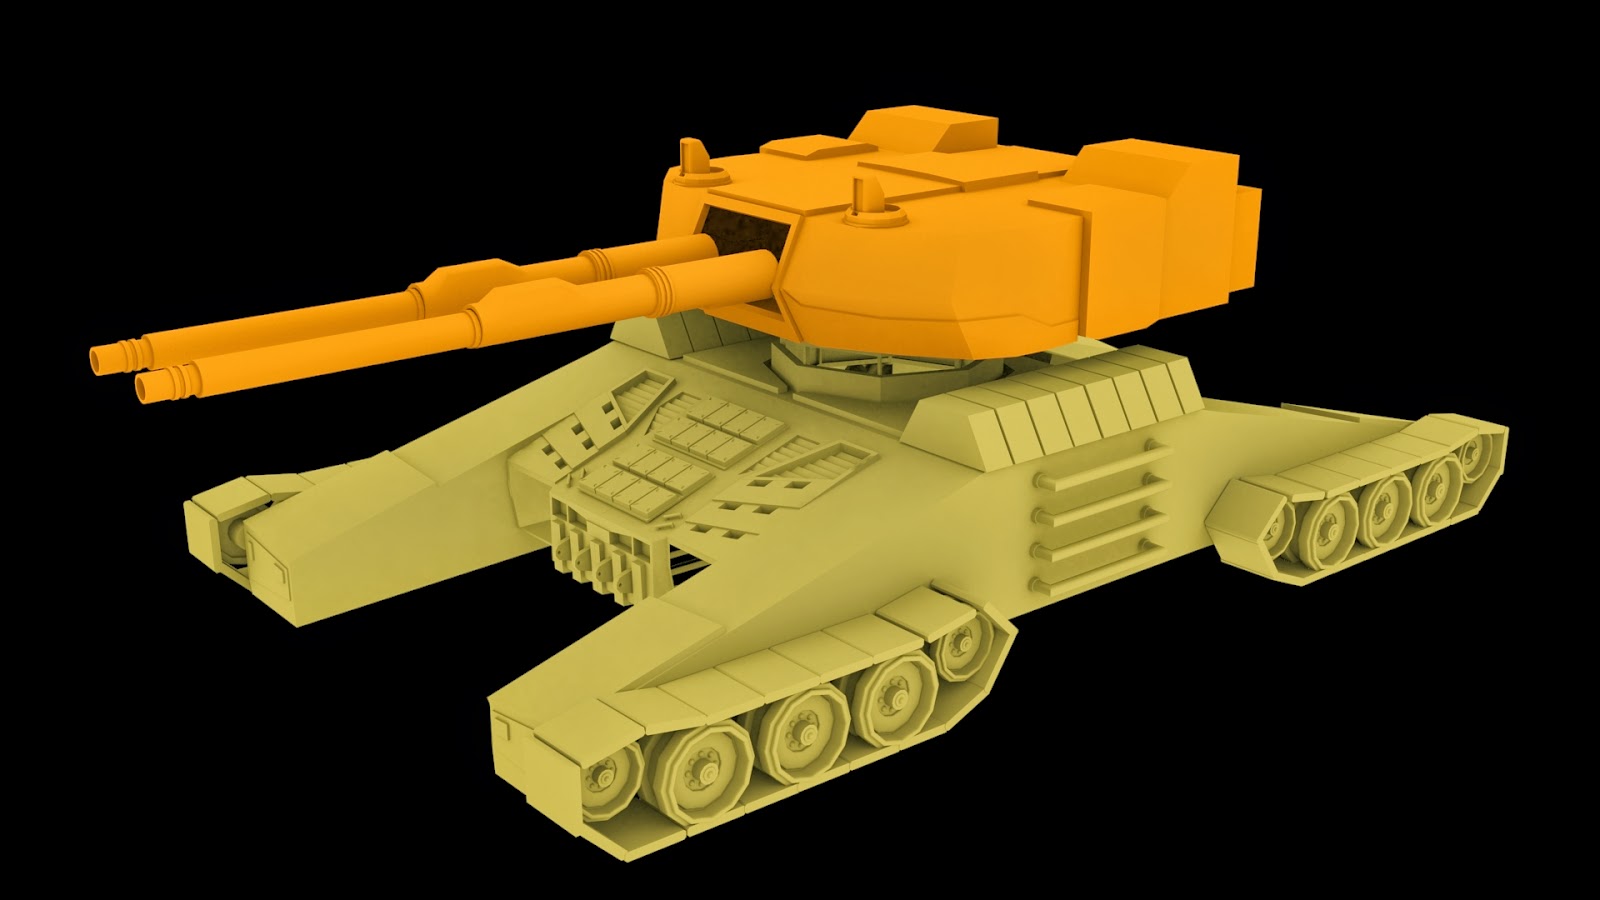
And lastly, to see how the mech looks put together so far, I duplicated pieces and welded them together. I then added a skylight to the scene, applied a light tracer to the render set-up, set the resolution to 1920 x 1080 (HDTV Size) and rendered it out from various angles, as shown below.
I'm quite pleased with how the model looks so far. There's still a lot to figure out, such as how to model tank treads, which pieces such be external or attached, and general topology issues, but for the time being, I'm happy with the progress thus far.
The next entry will show further progression on this 3D model.


No comments:
Post a Comment