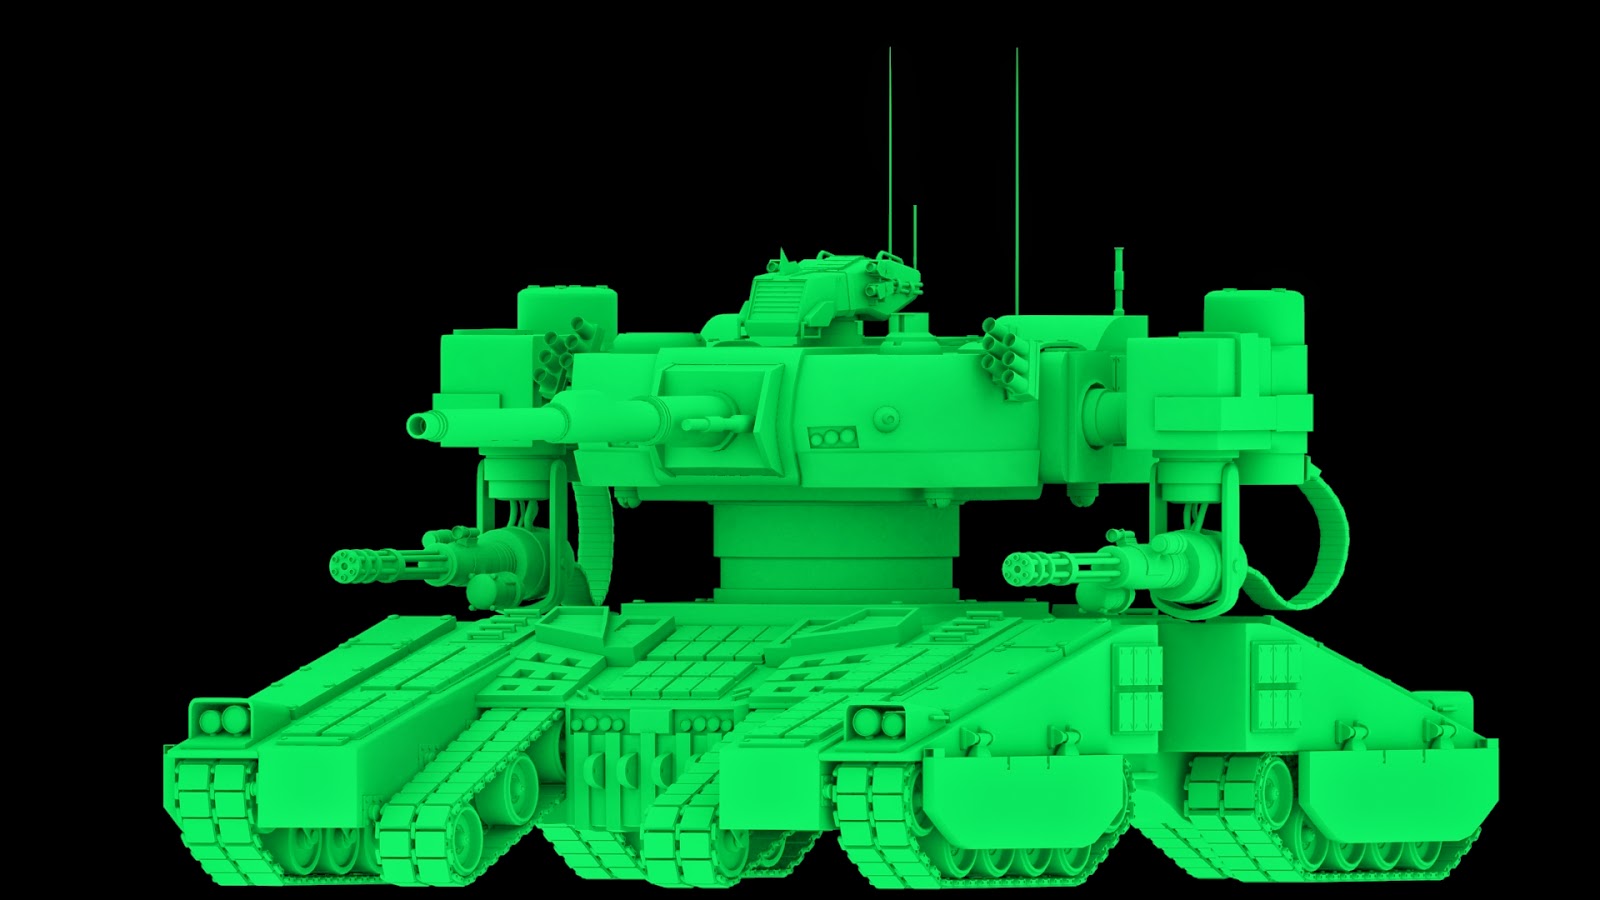
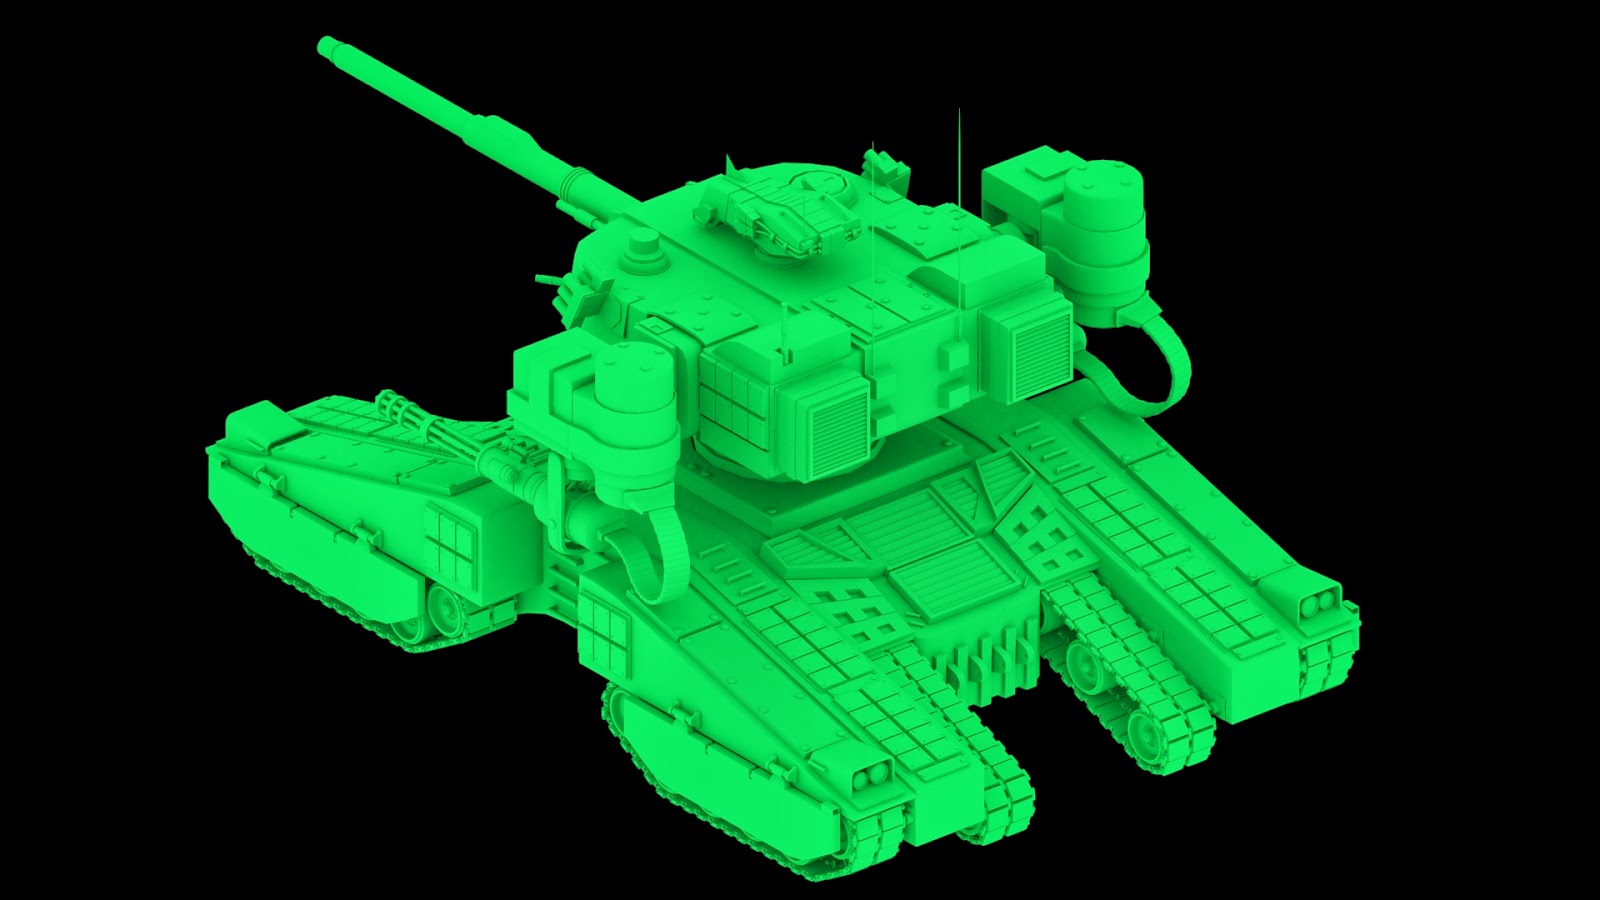
As mentioned in the last entry, this entry shows you the optimsation process I went through to add the finishing touches to my high poly model.
The optimisation process largely involved taking a basic model, applying a turbosmooth modifier, working out where hard edges should be placed to keep the solid shape of the original model, adjusting as needed, then removing any unnecessary edges need from the model, and putting them back in place on the original model, whilst checking for any errors through use of the numeric selection and x-view tools.
Below gives you a visual idea as to how it was done:
The first step was to separate the piece to be optimised from the rest of the model. In this case, one of the tank's wheels will be used as the example.
 |
| STEP 1 |
Step 2 is to apply a turbosmooth modifier one the hard edges have been put in place to keep the solid look, and then collapsed onto the lower poly model.
 |
| STEP 2 |
Step 3 involves removal of any unnecessary edge loops which are unneeded. This is done to reduced the overall poly, tri, vert and edge counts, as well as getting rid of any weird poly shapes created by the hard edge process. The x-view tool is also used to look for any mistakes on the high poly model.
 |
| STEP 3 |
Step 4 makes use of the numeric selection checker, to pick out any n-gons or fixable triangle shapes, and these are fixed when needed.
 |
| STEP 4 |
Step 5 is to change the material colour of the object to a green colour scheme, to remind me that the piece is now finished, and the model is put back in its original place. Duplications are made if the piece is modular and need to be placed in multiple places on the model.
 |
| STEP 5 |
Although this process was time consuming, it allowed me to properly optimise every piece of the model, which has greatly solidified the look of this model.
With this part done, I rendered out a few shots of the finalised model. I'm really pleased with its current look.
 |
| RENDER 1 |
 |
| RENDER 2 |
The building up of all of the main pieces for this model is now finished. The next stage, which I'll be updating in the next entry, shows the work down for the customisable pieces, that can be swapped out to create the different job classes that I mentioned back in the earlier posts.


No comments:
Post a Comment